Crochet has had me hooked for over two years now, and I think it is time to share the love. Once, my mom taught me how to crochet, and now I’m passing it on to you: with this guide, you will learn the basics of crochet!
This time I will be focussing on how to start: cast on the first slip stitch, make a chain and make dc’s (UK, US: sc. For Dutch terms, switch to my Dutch blog in the upper left corner). It might seem challenging or maybe even impossible at first, but don’t give up! If you keep practicing, finally you will get the hang of it. And if you have any questions, you can always send me a message on Instagram or comment below.
In the United Kingdom, the basic stitch is called a double crochet or dc for short. In the United States however, it is called a single crochet, or sc. When reading patterns, make sure you know which terms are used! In this tutorial, I will be using the American terms.
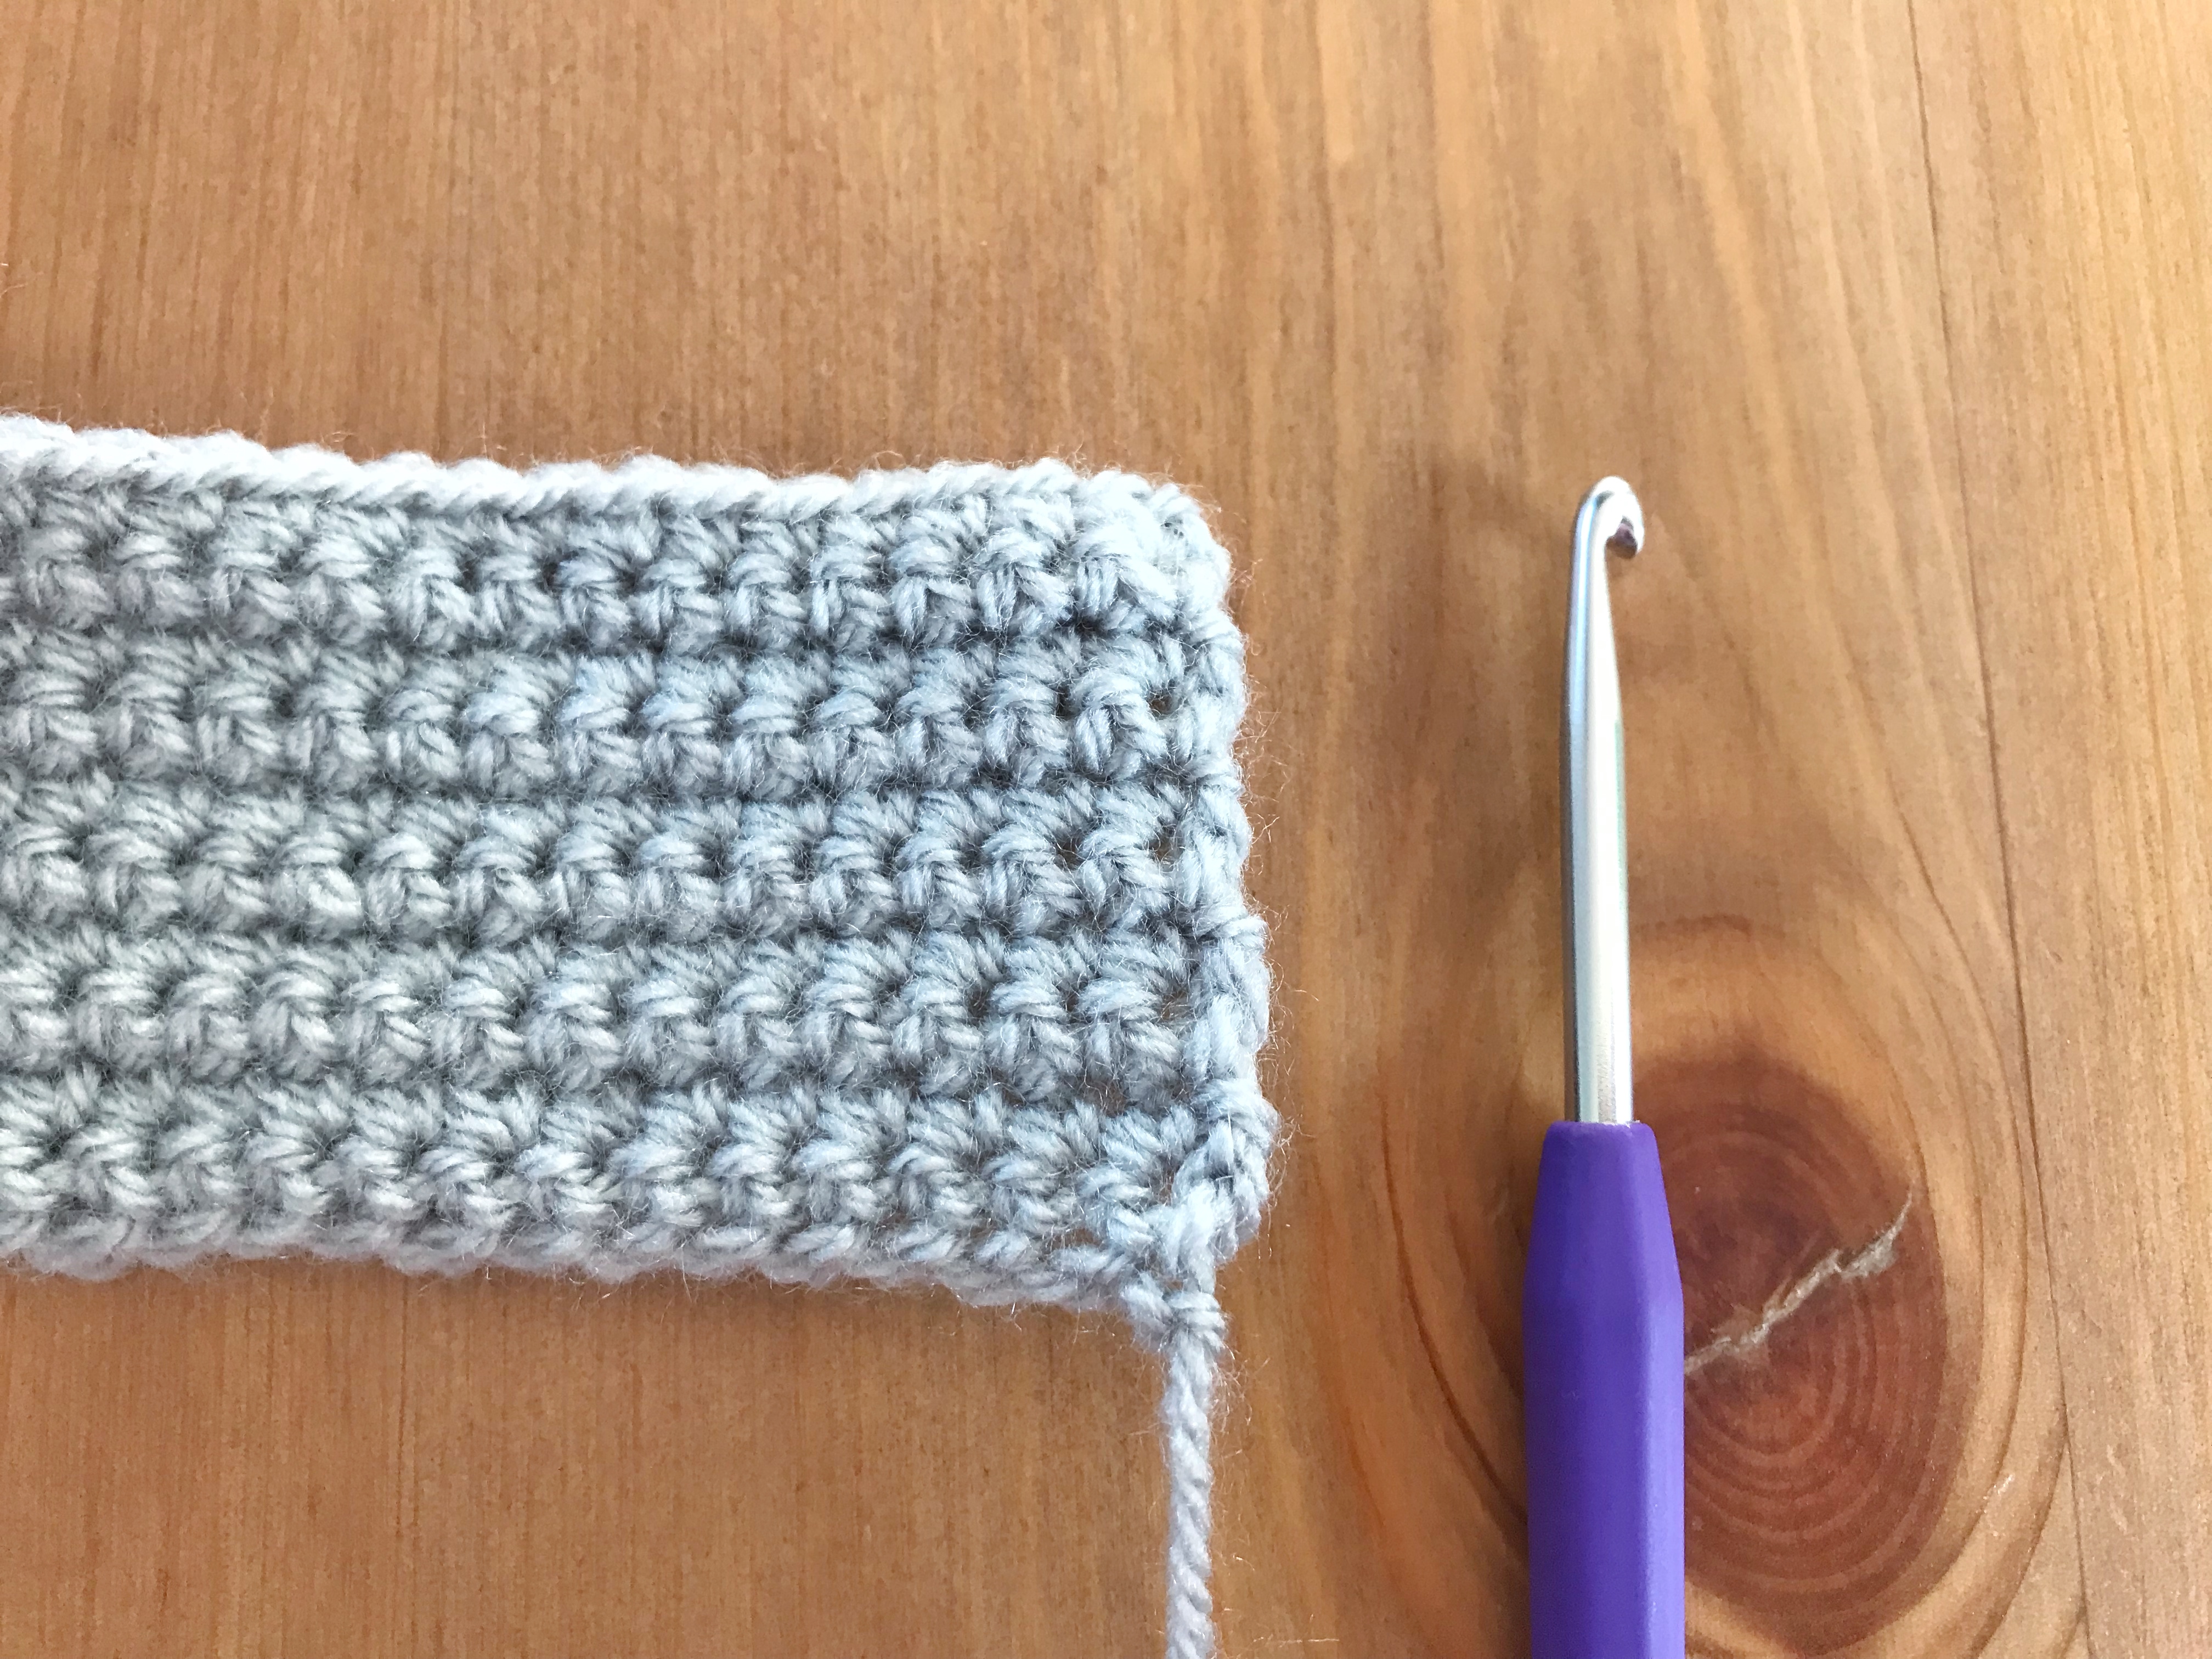
What will you need for this tutorial? First, a crochet hook, of course. I used a 4.00 mm hook for this tutorial. It really depends on the yarn which hook to use, but for a first time it might be easier to use a bigger hook and chunky yarn. Also, avoid very dark colors for the first time crocheting, since it makes the stitches harder to see.
Step 1: getting yarn on your hook
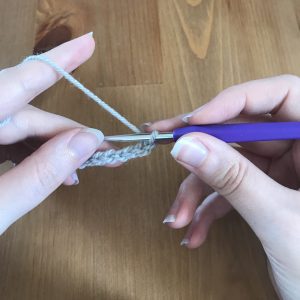
There are two ways of holding your hook. The first is the “knife” method: hold it like you would hold a knife. The second, which I prefer, is the “pen” method. In this tutorial I will be using the “pen” method, but on video’s on YouTube you might encounter the other way of holding the hook. Try both to see which one fits you most.
On to holding the yarn. When watching video’s on YouTube to learn how to crochet, I had difficulty holding the yarn the way they want you to. So I figured out a way to hold enough tension on the yarn, without wrapping it around my little finger like the video’s told me. For me, this is a natural way of holding yarn and I keep control over tension. It is very import to find your own way, but make sure that you can control the yarn and how much tension you give it.
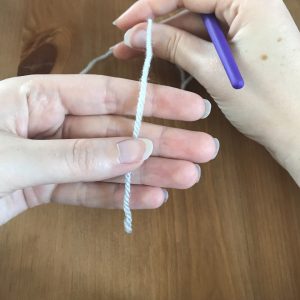
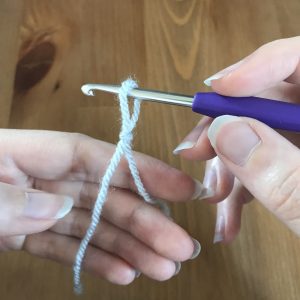
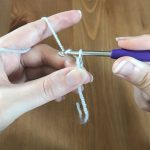
Grab your yarn and take the end of the string. Put it in your hand as depicted.
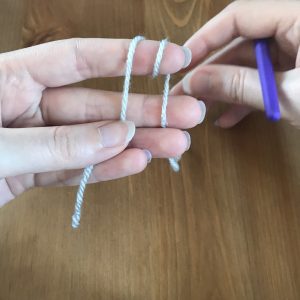
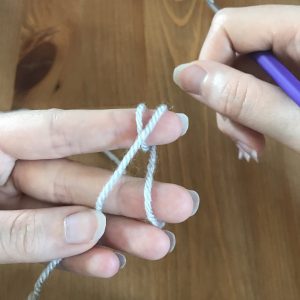
Now wrap the yarn around your index finger twice. Hold the yarn with your other fingers. Be sure to look at the picture to check if you wrapped it correctly!
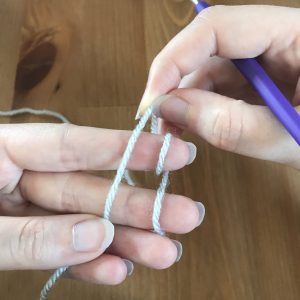
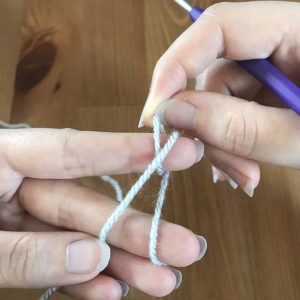
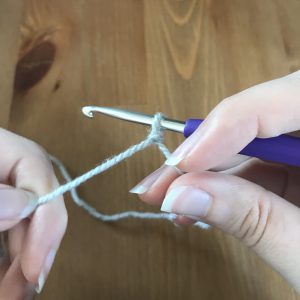
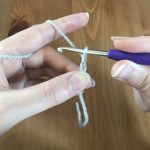
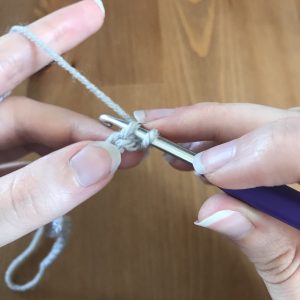
Take the left loop and move it over the right one. The loops should now make a V or X, depending on your angle.
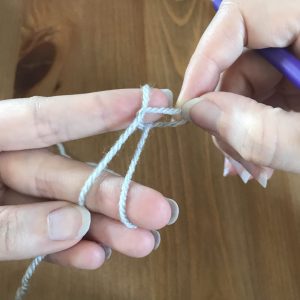
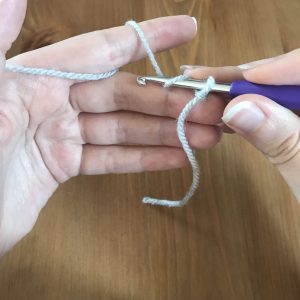
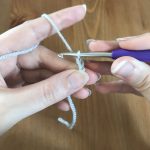
Again, pick up the right loop and pull it over the other one. This time, move it over your finger as well. Let go of the loop and pull on both threads until there is a small knot (see pictures below).
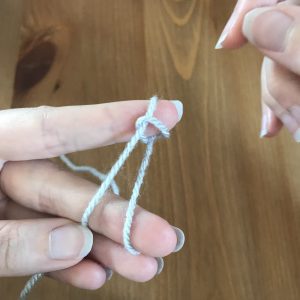

That’s it! All you have to do, is put your hook in the loop around your finger and pull tighter.
Step 2: chainstitches (ch.)
To get started on a project, you will first have to make the width of the first row. This technique is called chaining. It is a lot like crocheting in the air!
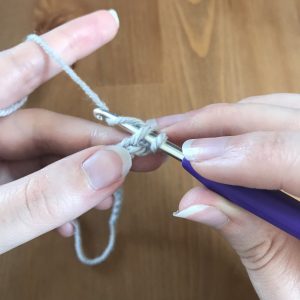
To get started, I like to hold the knot. If you don’t, there is a chance that by pulling on your yarn, you keep making this knot tighter and then it is more difficult to pull your hook through.
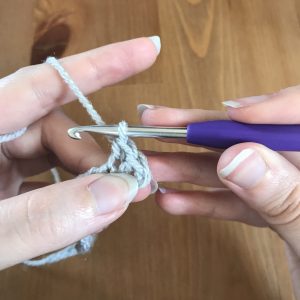
Loop your yarn around the hook, from back to front. This is how you always should loop the yarn! Make sure to compare the picture with your own work, so you get this right. Pull this loop through the first loop on your hook.
Once you have pulled the loop through the first loop, you will see a little “V” in the yarn. Repeat this as pictured above to make a chain of chainstitches.
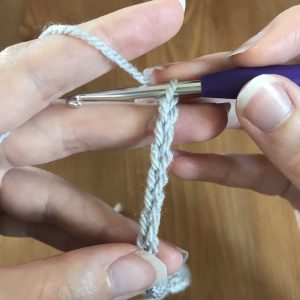
Here you can see the V’s I was talking about. Each chainstitch is a “V”. If a pattern asks for you to start with 25 ch., that means make 25 chainstitches. You will get a chain like this one: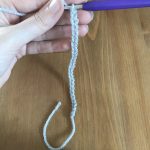
It is important to remember that you always have make one extra chainstitch to be able to make the desired amount of single crochets (sc). If you only make 25 chainstitches, you will end up with 24 sc’s! The extra ch. is called a turning chainstitch and has to be made after every row. Some patterns mention it in every row, some patterns only mention it once in the description, and some patterns don’t mention it at all. There are patterns that will ask you to chain 26 and then for the first row, make 25 sc’s. In this case, the turning chainstitch is already included.
When you have your chain ready, you can get started with the next step: single crochet (US).
Step 3: single crochet (sc)
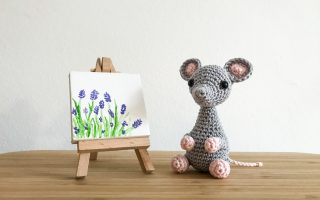
Now it is time to crochet your first row! The basic stitch in crochet is single crochet (sc.). This one is not only used for scarfs, sweaters, and other things that you make with turning rows, but also for amigurumi and other things that are crocheted in the round. This sheep rattle for instance uses single crochet stitches!
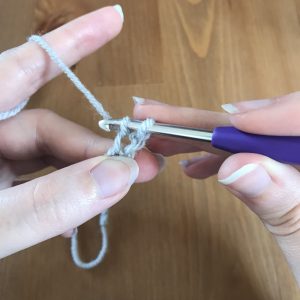
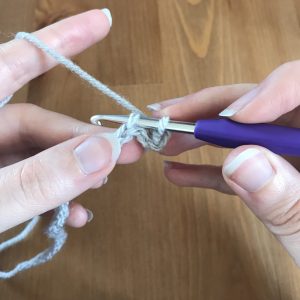
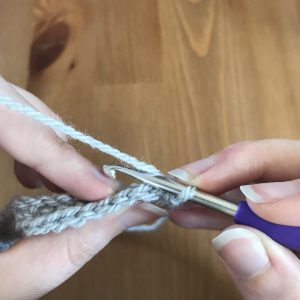
Remember the turning chainstitch? Insert your hook in the second ch. from your hook, skipping the first (turning) ch.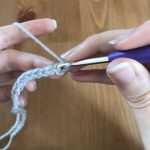
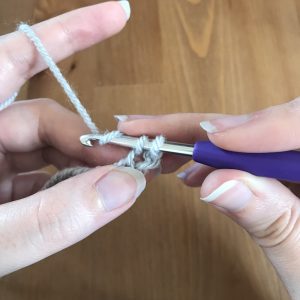
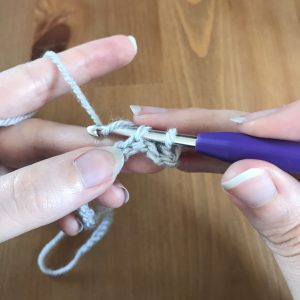
Here I have my hook inserted in the second ch. Next, yarn over your hook and pull up the yarn. There are two loops on your hook now. See the pictures below.
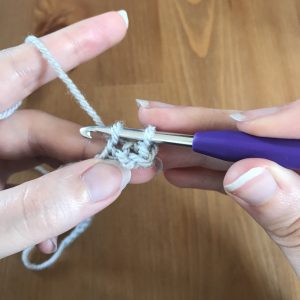
Now yarn over again, and pull the loop through both loops on your hook:
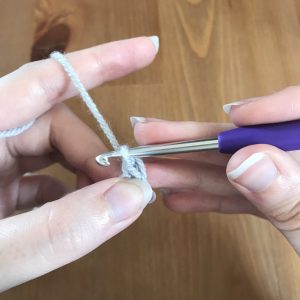
And you are back with one loop on the hook!
Below you can find the steps of the single crochet with pictures:
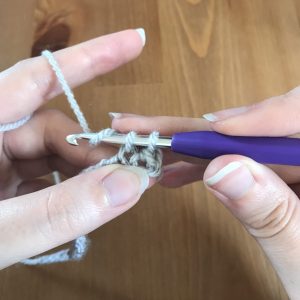
And that’s it for the single crochet! Repeat this for each stitch and you’re all set. At the end of the row, remember to chain 1 to turn.
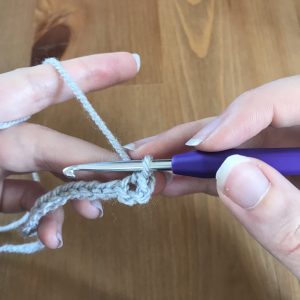
When you start the second row, insert your hook under the V’s that form the top edge of your work. You should be having the V on your hook when you have inserted it in the next stitch.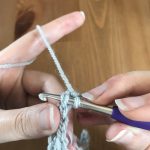
Repeat this for every row. When you are ready to finish off at the end of your last row, chain 1 and cut off your yarn. Be sure to leave enough to sew in the loose ends! Pull the end of the yarn through the chainstitch and your work is finished off.
Please let me know if you have questions or feedback! Good luck with your first crochet and keep practicing. Eventually you will get the hang of it and fall in love with crochet like I did!
If you want to stay updated on these tutorials and other blog posts, be sure to subscribe to my newsletter. Next time, I’ll teach you how to do half double crochet, double crochet and triple crochet!

[…] the previous tutorial, you learned about starting, chaining, slip stitches and single crochet (double crochet ik UK). […]
[…] you learned to crochet with my previous tutorials (part 1 and part 2)! And now you’re working on a scarf to keep yourself warm this winter, but – […]